Restoring aftertouch is a tricky repair on any instrument and results are mixed, restoration can make it too sensitive or not sensitive enough. That coupled with many factory patches not taking advantage of it enough makes it somewhat confusing, luckily Roland put an aftertouch sensitivity slider on the left hand control panel, allowing easy adjustment for when it works with variable sensitivity.

There has been a lot of discussion on the subject but the real pioneer for the JX10 was Joost Egelie who is a member of various synth repair Facebook Groups. As well as researching some important techniques from many other users, he also identified the importance of using IPA in graphite application:
In the end I rubbed with a q-tip and IPA; not to take excess graphite off, but to create a very monomorphous and thin layer of graphite. As I was working on the application of graphite, it hit me that graphite consists of stacks of carbon hexagonal crystals. These stacks easily dissolve in apolair dilutants like IPA, allowing for a better, thinner, and more equal layer of graphite. So I think the IPA treatment is a very important step in re-graphiting the aftertouch!
These instructions show how the conductive surfaces can be restored step by step using these techniques in the least messy way possible!
Note that this technique is also hit and miss, it may not work. See last section for a strange discovery in my instrument, a faulty AT strip with a manufacturing defect!
Luckily, there is a replacement solution designed by Alex of Plasma music, check out his work here: Alex’s aftertouch site pages: JX-10 & JX-8P
Please refer to the keyboard disassembly instructions on this page JX10 Replacement Key Contacts.
Rubber Strip Removal
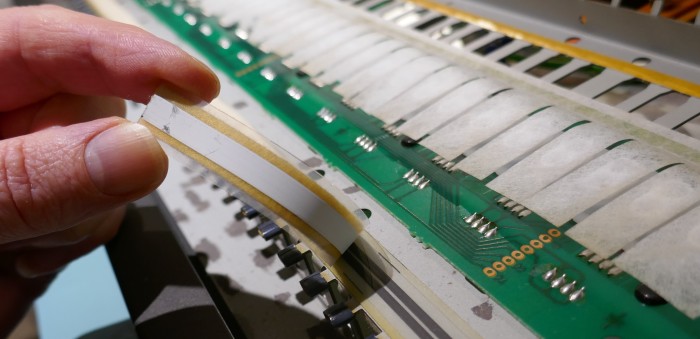
The strip is easily lifted up at the end of the connection point.
A word of caution! The strip has to be kept as straight as possible during removal, should the strip become folded or damaged, it will become ultra sensitive in the position of the damage and render the playability useless. This was observed by Joost, his had a previous repair attempt and a kink has rendered the aftertouch unworkable for nearby keys.
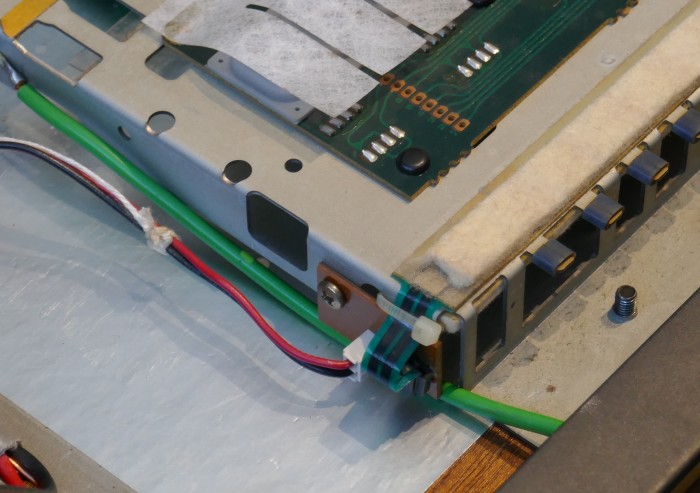
When lifting, take great care to leave the adhesive on the bottom conductor strip in place, if it begins to lift, use a clean dry finger to push it down again.
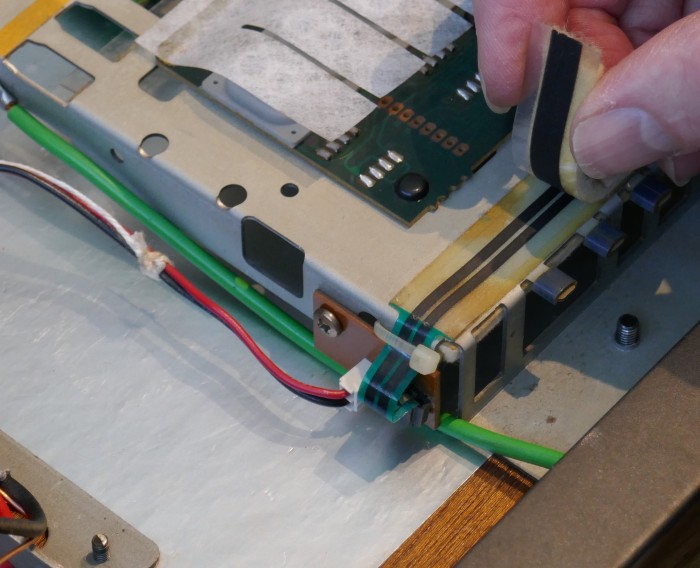
A gradual steady pull will remove the strip whilst keeping adhesive intact. If the adhesive is dry then a huge job of cutting new strips using double sided tape will be required. On two instruments, after 30 years the adhesive was in excellent condition.
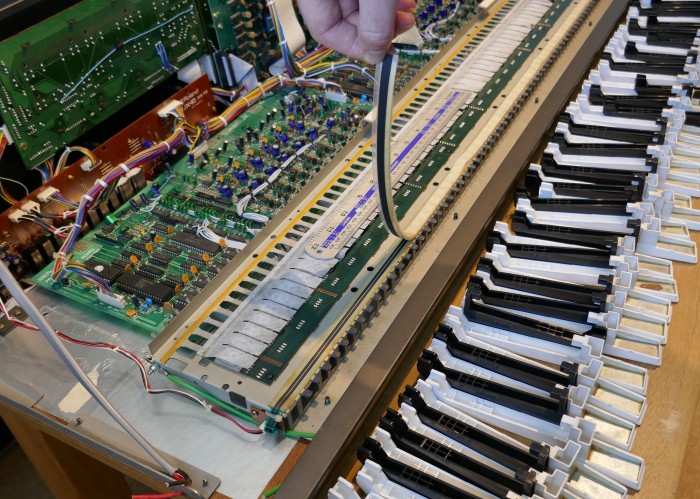
Now that the conductors are exposed, it is time to look at the rubber strip.
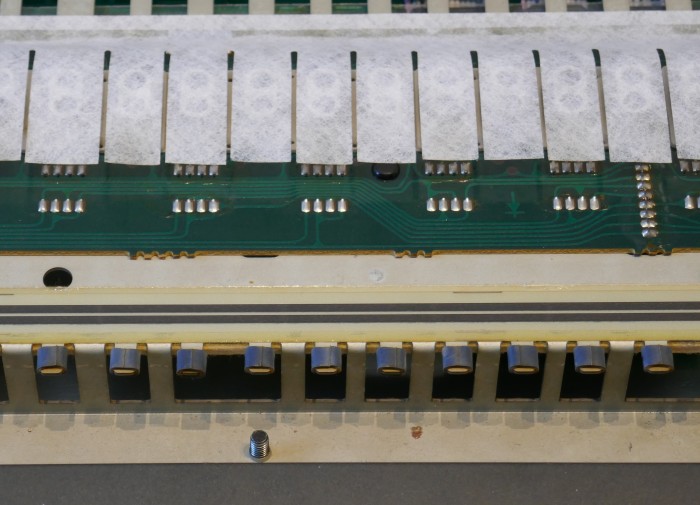
Rubber Strip Treatment
Place the rubber strip on a table, you will need cotton buds or Q-tips, IPA and graphite powder. Cotton buds seem good because they take on some graphite and help rub it into the surface.
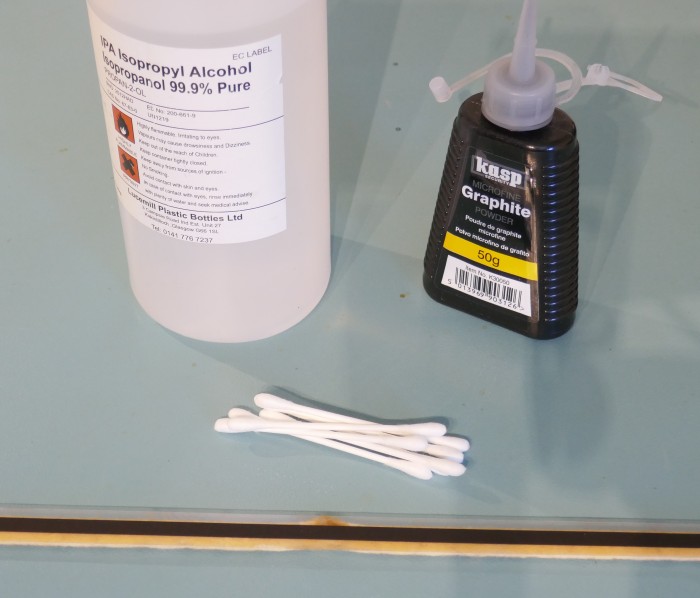
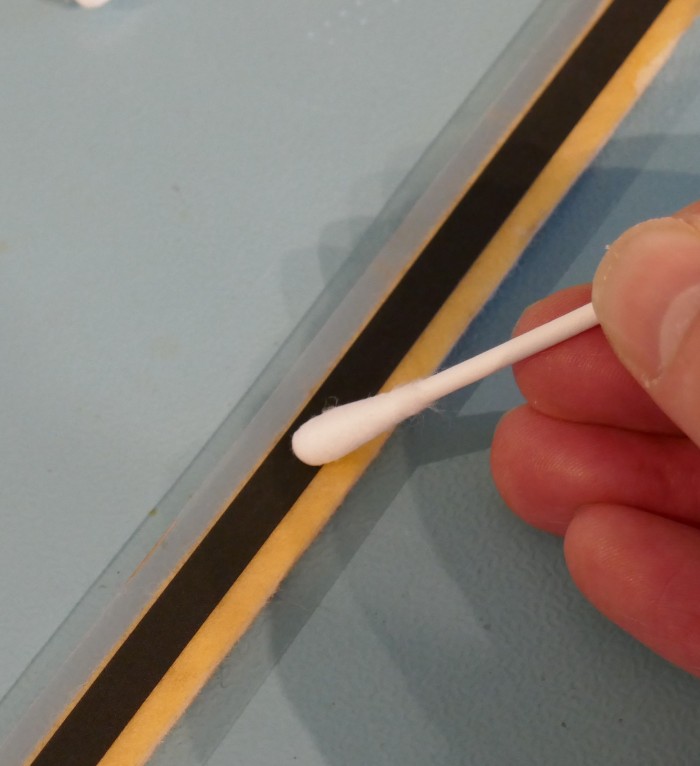
Clean the rubber strip in a single sweep using a cotton bud or cloth soaked in IPA.
Dispense some powder into a tub or lid, very little will be required. Rub in the graphite powder using the cotton bud along the length of the strip ensuring an even coating.
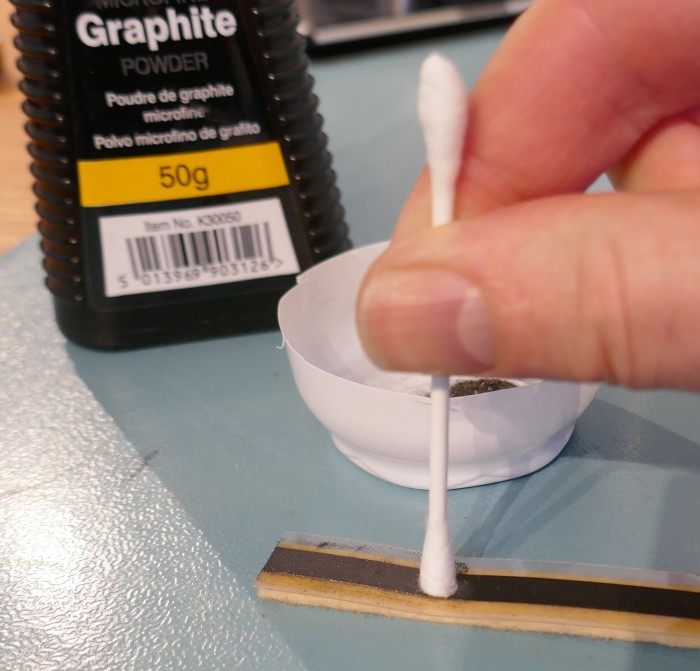
Once the length has a full run of dusty graphite, run an IPA soaked cotton bud along the length taking care to minimise rubbing on the new conductive surface. Ideally clean the non rubber areas first, then do one sweep along the graphite.
At this point a dirty cotton bud with graphite and IPA is beneficial to get an even coated surface.
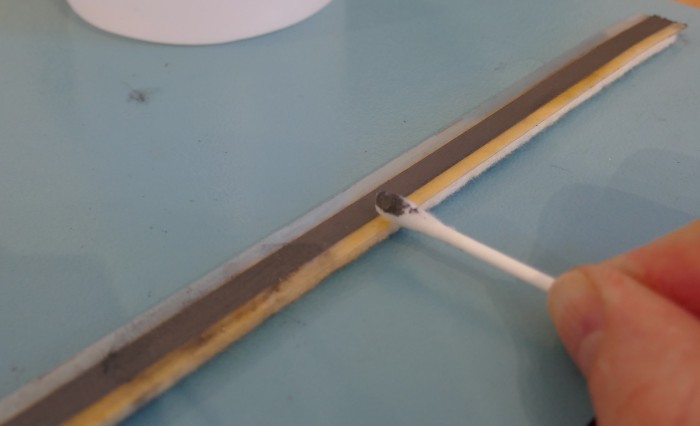
If you observe close up, you will notice that the graphite changes and forms a uniform surface against the textured conductive rubber.

Conductor Strip
Next the conductive strips are cleaned with IPA, take great care not to touch the adhesive at either side of the strip.

Next, the graphite powder is rubbed into the conductive strips, care should be taken to avoid contamination of the adhesive. With just a bud this is very difficult!
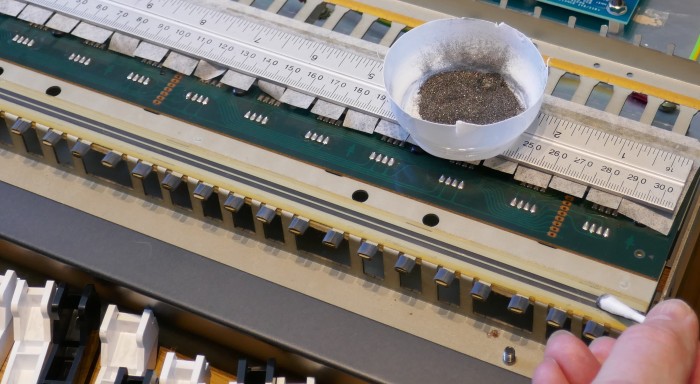
A ruler was used to keep the powder away from the adhesive and act as a steady platform to guide the cotton bud.
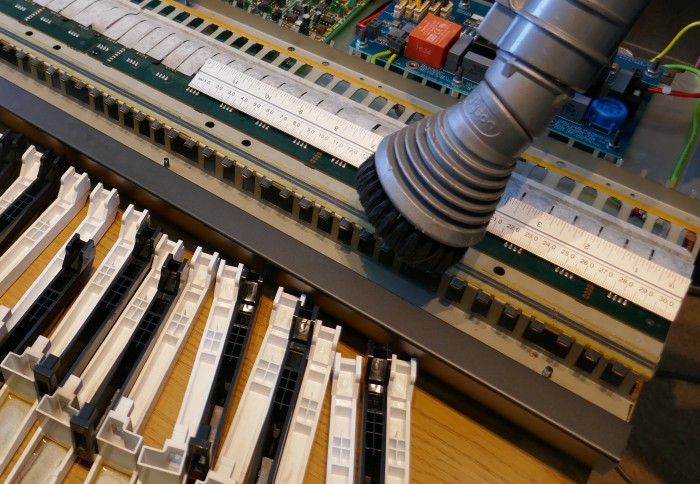
Using a vacuum cleaner brush, remove all traces of graphite dust. Do this in one sweep to avoid damaging the adhesive.
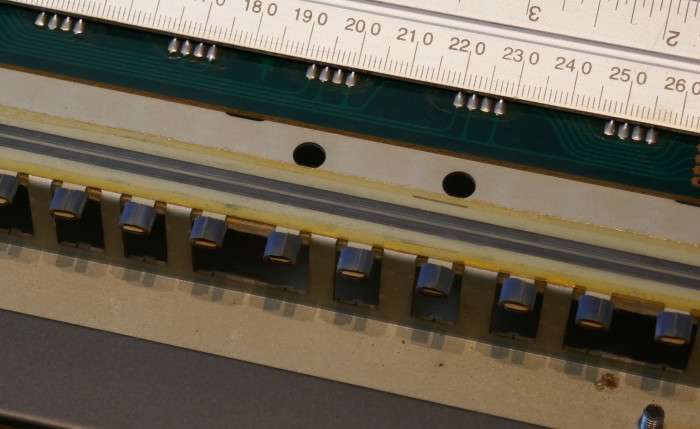
The smooth graphite surface now gets treatment with IPA to align the graphite crystals.
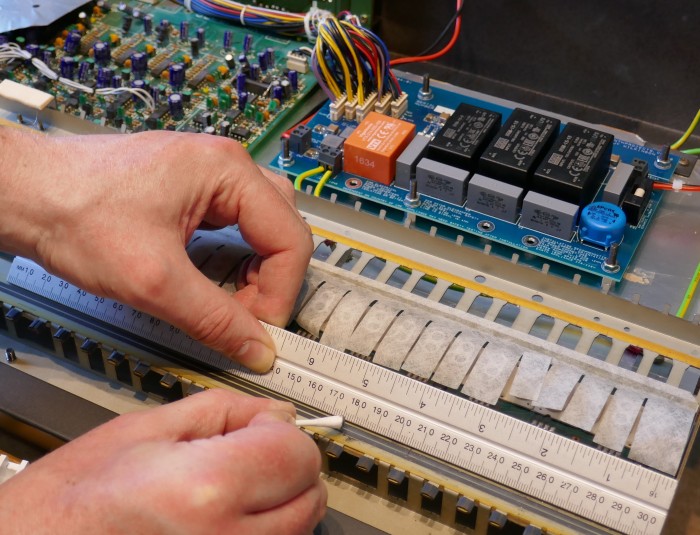
Run an IPA soaked cotton bud along the strips avoiding the adhesive strips. The same technique with a ruler is used to ensure a steady run along the conductors.
It is critical in this step that the graphite is not rubbed off, the lightest touch is required in one steady sweep. A second sweep or rub removes the graphite.
Repeat the process if the application doesn’t look uniform.
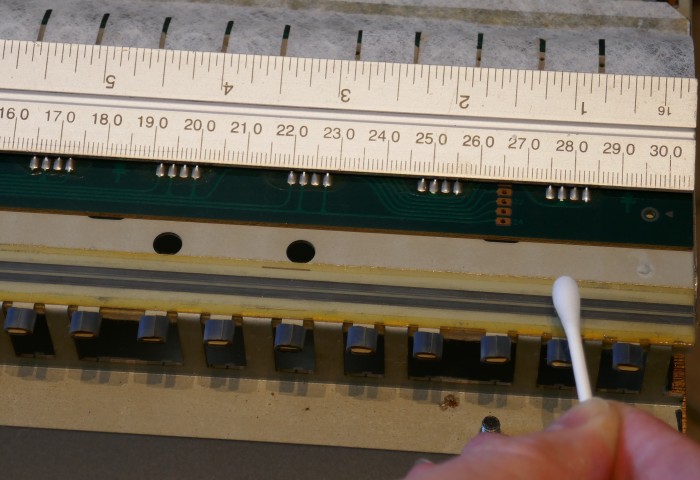
The end result is shown in the next two pictures.
Replace Rubber Strip
Reapply the conductive rubber strip ensuring it stays aligned. Ensure that the felt is in the same position as it was when removed.
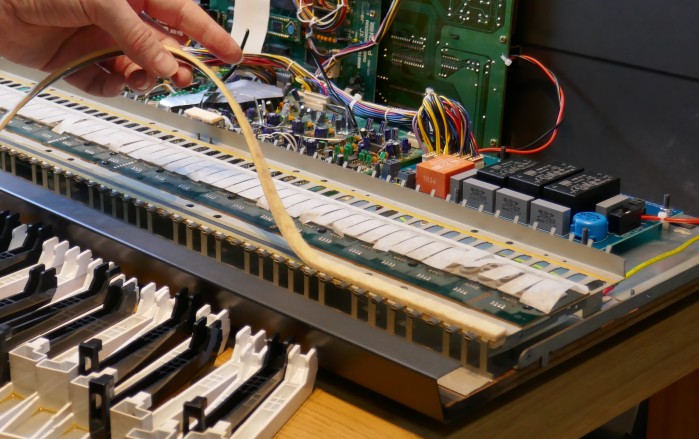
Completed
The refurbished strip in place in the instrument, now it time for testing.
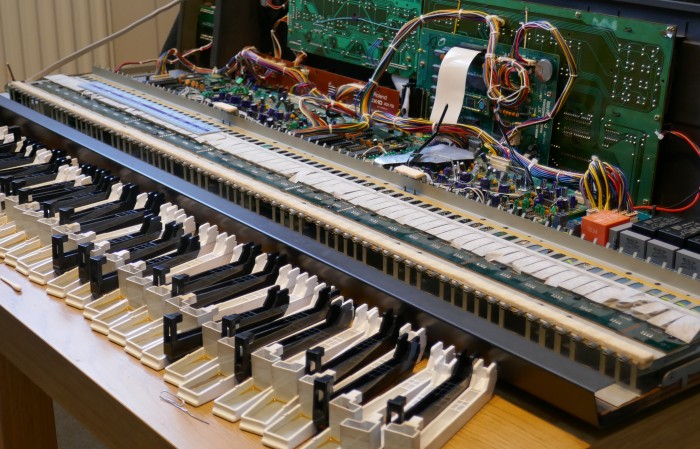
Testing
The best way is to refit a group of keys in the middle section and test using a special menu in the instrument.
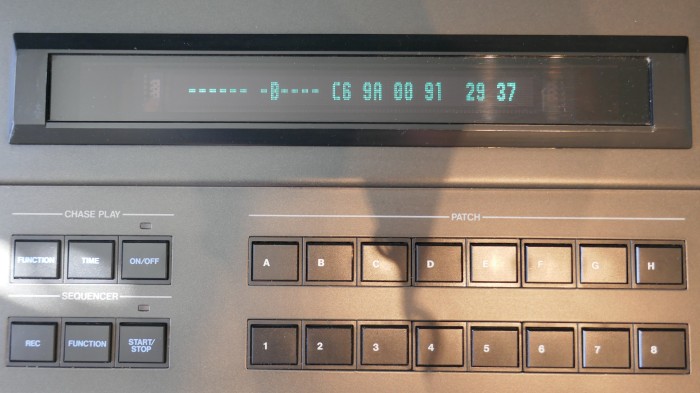
Press “WRITE”, Rotate Alpha Dial until “TEST MODE 1” appears and press “ENTER”. A screen will appear showing various values in hexadecimal. The one 3rd from the right is the value the assigner sees after the aftertouch slider has amplified it.
In the picture below, the value of 91 is showing the after touch value when a key is pressed, it has a range of 00 to FF with “FF” being 100%:
Many patches need to be adjusted to use aftertouch; there are parameters Volume, Vibrato and Brilliance to adjust in the “PATCH” menu.
If aftertouch is completely dead and the test value always reads “00” then it may be that the green flex strip end connection needs cleaning. Using a IPA soaked cotton bud with graphite on it, pull out the green flex strip and clean the carbon contact areas.

Unlucky
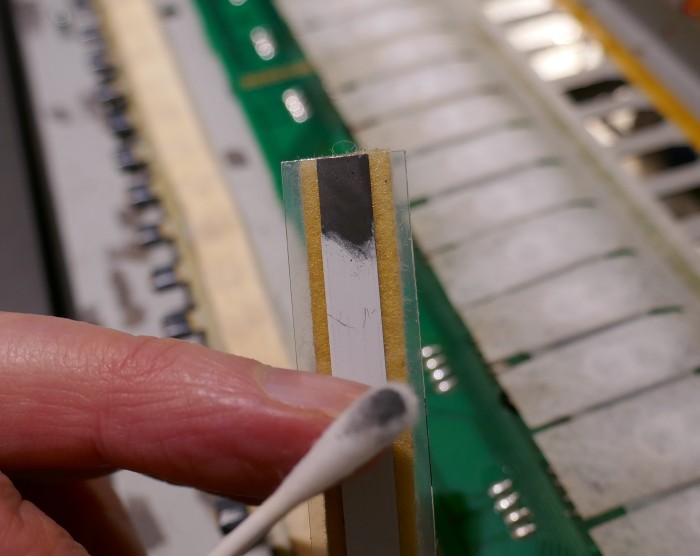
If you are unlucky like me and get a faulty after touch strip that has a manufacturing defect, it may look like this. A strange coating of paint that has no conductivity whatsoever.
I cleaned it off, yielding a carbon surface underneath, but in the process, it rubbed too much carbon away leading to the after touch strip behaving more like a switch. Maybe it could be repaired by use of a resistive film instead……..another day 😦
What a shame.
Copyright © 2023 Super Synth Projects, Guy Wilkinson & Joost Egelie.


You must be logged in to post a comment.