Batteries are proven to be showing excellent lifetime with no leakage in the MKS70 or JX10. Roland chose Renata or Sanyo for the instruments they made and are still working great today. The CR2450 NRH-LF type they used has 3 legs and is same in both MKS70 and JX10.

This article shows how to replace with original type that will last at least another 30 years, but “hot wires” another battery beforehand to ensure no loss of any settings. This has an advantage in that it prevents the possibility of corrupting memory locations that can cause issues.
There is a benefit to soldering a replacement battery in situ. With PCB mounted holders, contact corrosion can happen in humid environments and cause false impression of battery failure. However, a good quality battery has to be used with a long lifetime.
The same procedure below can be used if a battery holder is used.
To remove the assigner, follow the guide for disassembly in the maintenance pages of this site. It is important that care is taken when removing and replacing the flat cable connections. They are fragile and if under stress, the backing strip can come away over time and ruin it. See Assigner section at bottom of this page, flat cable advice is same for JX10: MKS70 Internal Disassembly
The picture below shows the original battery being tested on an MKS 70 assigner. It is reading a very healthy 3.3 volts. For a 3V battery, this is impressive after over 30 years, even though we are changing it anyway.

A 3 volt battery, with a 1K ohm resistor is first attached between ground and memory device connection on resistor R1. It important to use a protective series resistor before connection for safety and preventing damage if a mistake is made.

Convenient points are shown in picture below.

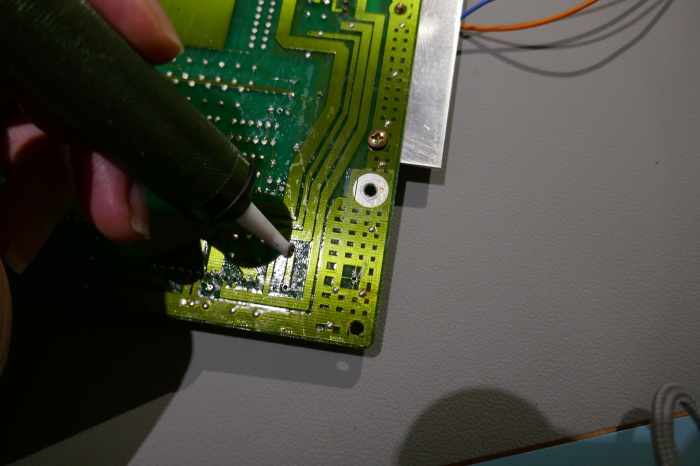
Cut the old battery out then desolder and remove the legs ready for the replacement.

Original replacement battery is Farnell 131-9738. RENATA CR2450 NRH-LF Battery, Button Cell, Single Cell, 3 V, 2450, Lithium Manganese Dioxide, 540 mAh, PCB Pins, 24.5 mm

To hold the battery in place and protect against vibration if gigged, some silicone sealant is used to secure it. The pins are quite fragile but this step is not essential. Silicone is easy to remove later.

After soldering the battery, the connections are removed.

Testing the new battery voltage should give above 3 volts between ground and a connection to resistor R1.

Copyright © 2020 Super Synth Projects, Guy Wilkinson
You must be logged in to post a comment.