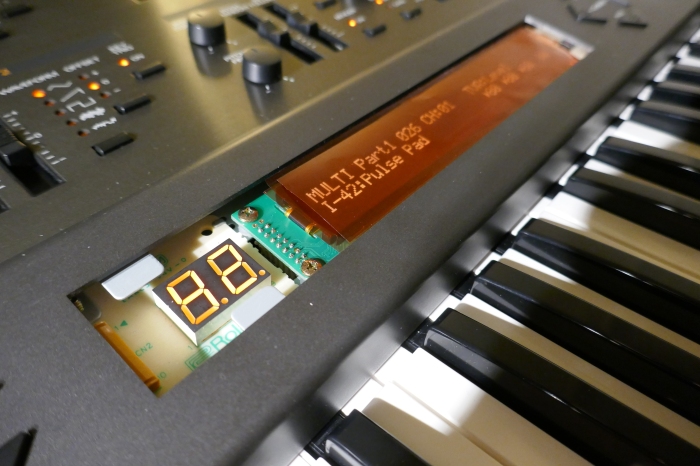
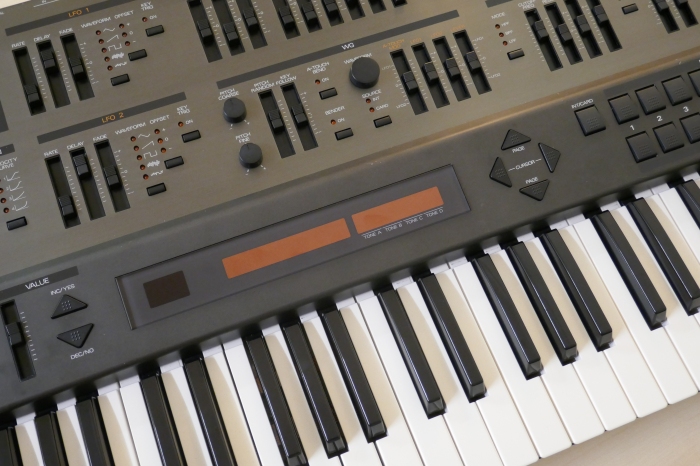
Having owned a Roland JD-800 from new and being my most used synthesizer during the 90’s. I have always loved the look of this instrument, however, the LCD display with the lovely orange backlight can sometimes fail or start losing lines, especially if the instrument has been kept in damp conditions.
An instrument belonging to a friend and sponsor of the keyboard flexible PCB project, had an issue with not only the keyboard PCB but the LCD was missing rows of segments. We decided to fit an OLED display, here are the steps we took and the results.

If you want one of these displays and up to the job of fitting it, I am happy to supply one. See my availability page for details. If you need a display fitting to an instrument or any other upgrade shown on this site, Plasma Music in UK offer this service.
The OLED display used is normally supplied as part of the JX10 or JX8P kits and was specially made to order. It has a very thin construction, small dimensions and a US2011 controller. The SuperJX applications are very tricky due to space requirements, so needed these characteristics. See this guide to using our standard 40×2 OLED character module.
Disassembly
Open the instrument and remove the display assembly; metal panel containing LCD module and 2 digit display. The cable ties must also be cut in order to separate the backlight cable that is no longer used.

Carefully remove the window without touching and damaging the paint on the perspex. The double sided foam is easy to separate with a craft knife but great care is needed.

De-solder the wires on the LCD module connector and carefully remove as one piece. We prefer to use an electric de-soldering tool.

The picture below shows the ends of the wires and the old and new display modules. The new OLED is thinner, so spacers are needed. The spacers also prevent short circuits to metalwork because there are some additional legacy connections.

Carefully attach the wires in the correct order and orientation, leaving pins 15 and 16 unconnected. Note the position of the black wire ends up in the same position as the old display.

Plug in the mainboard and switch on to test, during which, do not let the display touch any metalwork. Turn off and unplug the module from the mainboard.

Fit the OLED module to the metal bracket using 4mm plastic spacers.


Carefully pick off the double sided foam from the window.

Refit the display assembly then close the lid and test.


Place the lid in position to check fitment. We think that the window can be held in place sufficiently well using double sided tape on the two metal lugs around the 2 digit LED display.

Colour Filter Trials
In this case we wanted to try some orange filters purchased from eBay that are normally used for lighting applications. We found that 3 layers of film applied across the OLED module and 2 digit LED display provided a neat result.

The end result is great for a darkened studio. The additional filter on the 2digit display helps to attenuate the brightness a little bit and evenly colour match.

In daylight with power off, an orange tinge can be seen on the display window.

The JD-800 is a fantastic instrument and is worth the attention
Orange Filter
Full CTO Orange Lighting Gel is available from various eBay sellers.

Copyright © 2021 Super Synth Projects, Guy Wilkinson & Jonathan Williams
You must be logged in to post a comment.